Greetings First Year Student,
Welcome to Bowdoin!
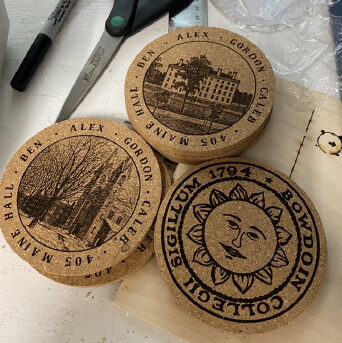
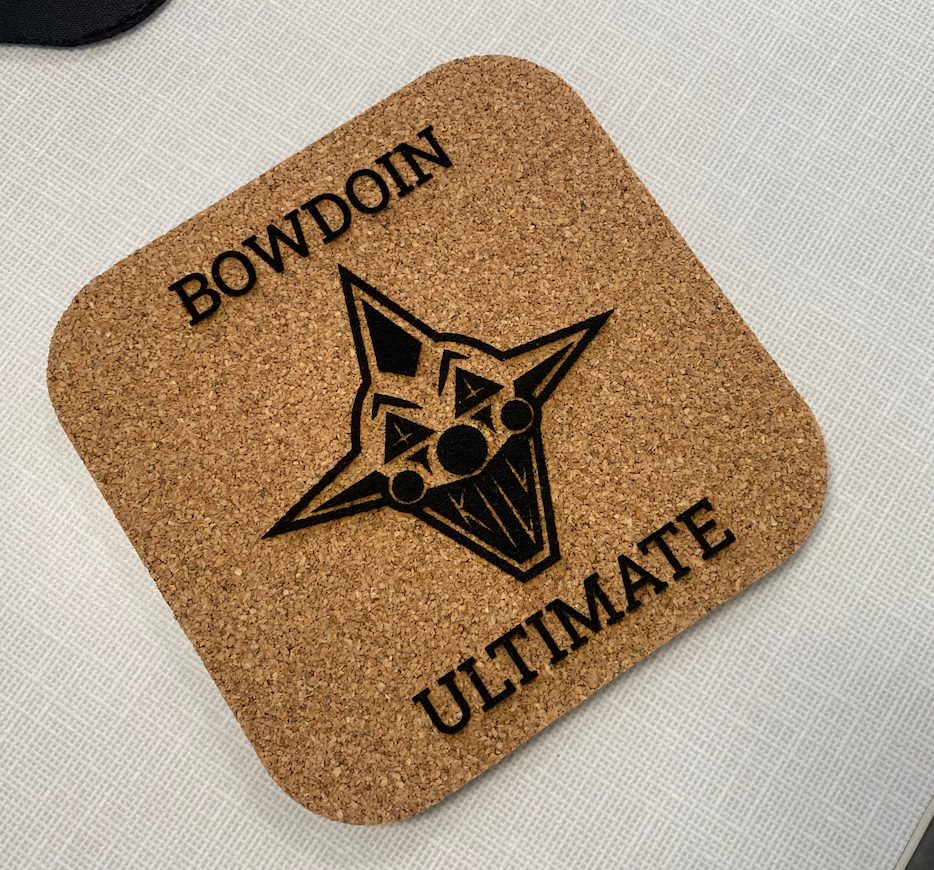
The Maker Space would like to welcome you with a blank canvas (actually, a coaster) to decorate with whatever you wish.
We have a bunch of pre-made designs that you can use as a starting point, or you can design you own using your new Bowdoin-supplied MacBook or iPad.
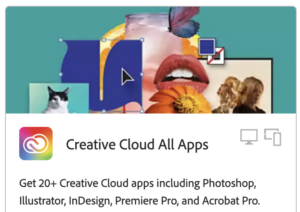 To get started with your design, download the Adobe Creative Cloud App from the Self Service App on your laptop, or from https://adobe.com/creativecloud/desktop-app.html
We are located in 101 Jewett Hall and are generally open M-W-F 1-6pm, and by appointment. Staffed weekend hours will begin in a week or two.
 We look forward to meeting you and sharing our offerings that will feed your creativity.
Templates to download – Polar Bear: (more designs, soon)
Tutorials/Tips on using Illustrator software on your laptop to do it yourself:
- How to make circle text in Illustrator (video)
- Illustrator Online Training Courses (LinkedIn Learning – free to Bowdoin students)

Steps for Prining:
(to be done with staff supervision until you are fully trained in how to safely use the equipment)
“Burning” your coaster will take about 10 to 15 minutes, depending on the complexity and density of your design)
- Export your design (as a PNG org SVG) and bring it over to the iMac next to the GlowForge
- Turn on the machine (back right corner) and make sure that the filter fan is also turned on (front right side corner).
- Put the coaster in the “jig” in the machine, so that it is in a good spot for engraving.
- Open the browser to app.glowforge.com
- Start a New Project from the top left
- Go to the green + in a circle on the top middle —> Add Artwork —> Upload

- Center your artwork on the coaster
- Go to top left where it says “unknown material” and click “use uncertified material” and enter 0.125in for material thickness.
- You will see a thumbnail of you image to the left. Click it and under “Engrave” setting choose the presave “Cork 15” or, under “manual” use the settings of 1,000 for Speed and 15 for Precision Power

- “Print” button is on the top right (and it will tell you how long the print will take)
- Push the glowing button on the top right of the machine.
- Sit back and relax while it engraves for you.
- Once it has finished and the printer gives you the OK to open the lid, make sure the equipment (both laser and fan) are turned off.
